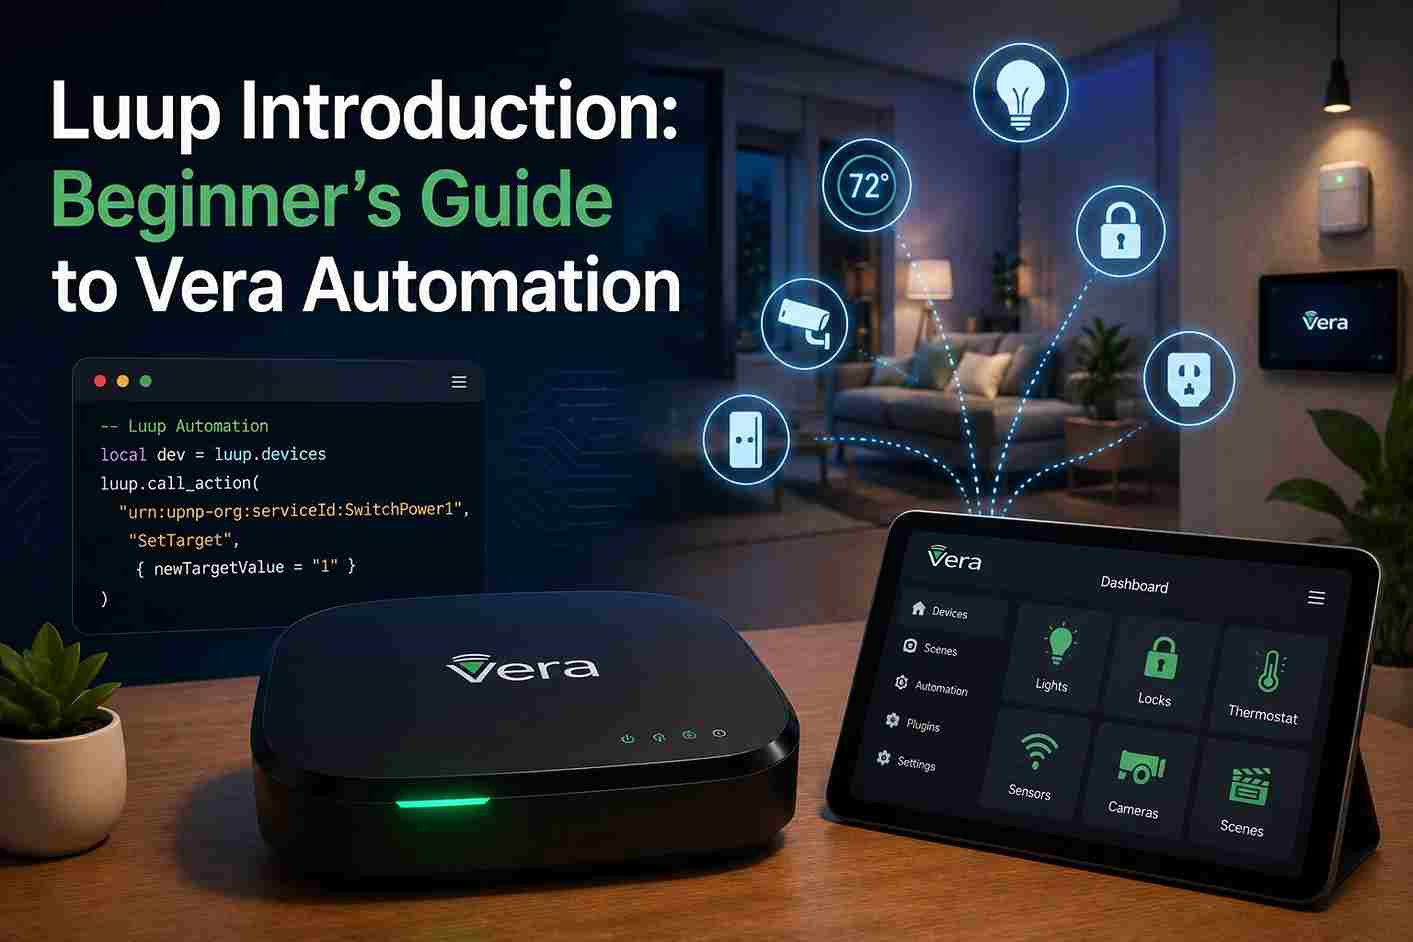
Luup Introduction: Beginner’s Guide to Vera Automation

What Is Luup?

Luup is the software engine that powers automation inside Vera controllers. Built around the Lua programming language, Luup allows users and developers to create advanced automation that goes beyond the capabilities of the standard graphical interface.

While many homeowners rely on prebuilt automation scenes, Luup provides direct access to devices, variables, events, and services, making it possible to build highly customized smart home behavior.

Developers can use Luup to create plugins, automate complex workflows, communicate with external services, and extend the capabilities of Vera controllers far beyond their default features.

Whether you’re integrating lighting, security systems, climate control, or custom hardware, understanding Luup is the first step toward advanced Vera development.


What Is Lua?

Before learning Luup, it’s important to understand Lua itself.

Lua is a lightweight scripting language known for:

  • Fast execution
  • Simple syntax
  • Low memory usage
  • Easy embedding
  • Cross-platform compatibility

Because Vera controllers have limited hardware resources, Lua is an ideal language for running automation locally without placing excessive demands on the controller.

Unlike large programming languages, Lua focuses on simplicity while still providing the flexibility needed for complex automation logic.


Why Vera Chose Luup

Rather than limiting users to predefined automation rules, Vera introduced Luup to allow complete customization of the smart home.

This approach provides several advantages:

  • Flexible automation
  • Plugin development
  • Device integration
  • API communication
  • Event handling
  • Local execution
  • Community-created extensions

As a result, users can tailor their smart home to meet unique requirements that standard automation interfaces cannot address.


Understanding the Luup Engine

The Luup engine continuously monitors every connected smart home device.

Examples include:

  • Motion sensors
  • Door contacts
  • Smart locks
  • Thermostats
  • Switches
  • Smoke detectors
  • Water sensors

Whenever a device changes state, Luup evaluates any associated automation rules and executes the appropriate actions.

This event-driven approach allows automations to react immediately to changes throughout the smart home.


How Luup Executes Automation

Most Luup automations follow a simple sequence:

  1. A device generates an event.
  2. Luup detects the change.
  3. Conditions are evaluated.
  4. Lua code executes.
  5. Commands are sent to one or more devices.
  6. Variables are updated.
  7. Notifications or additional actions occur if configured.

Because this processing happens locally, automations continue working even if internet connectivity is temporarily unavailable.


Local Automation Advantages

Running automation locally offers several benefits:

  • Faster response times
  • Greater privacy
  • Reduced cloud dependency
  • Continued operation during internet outages
  • Lower latency
  • More predictable automation behavior

These characteristics helped distinguish Vera from cloud-only smart home platforms.

Luup Architecture

Understanding the Luup architecture helps developers create reliable automation and troubleshoot issues more effectively. At its core, Luup acts as the automation engine that connects smart home devices, services, variables, and user-created logic.

The architecture consists of several key components:

  • Devices
  • Services
  • Variables
  • Actions
  • Events
  • Plugins
  • Lua scripts

Each component has a specific role, and together they allow Vera controllers to automate complex tasks with minimal user intervention.


Devices

Every smart home product paired with a Vera controller is represented as a device.

Examples include:

  • Smart switches
  • Motion sensors
  • Door locks
  • Thermostats
  • Water leak detectors
  • Smoke alarms
  • Garage door controllers

Each device has a unique identifier that allows Luup to monitor its status and execute commands.

For example, a motion sensor may expose variables such as:

  • Motion detected
  • Battery level
  • Last update time
  • Signal strength

Luup reads these values continuously to determine when automations should run.


Services

A service defines what a device is capable of doing.

Examples include:

  • Turn a light on or off
  • Lock or unlock a door
  • Change thermostat temperature
  • Read sensor values
  • Trigger notifications

Think of services as collections of actions and variables related to a particular device function.

Multiple devices may share the same service, making automation easier to standardize across different manufacturers.


Variables

Variables store the current state of a device.

Examples include:

  • Current temperature
  • Door status
  • Motion state
  • Lock status
  • Battery percentage
  • Light brightness

Automation scenes often rely on these variables when making decisions.

For example:

If

Motion = TRUE

Then

Turn hallway lights on.

Because variables update whenever device status changes, Luup can react almost instantly.


Actions

Actions are commands sent to devices.

Common actions include:

  • Turn On
  • Turn Off
  • Lock
  • Unlock
  • Arm
  • Disarm
  • Set Temperature
  • Send Notification

A single automation scene may execute multiple actions across several devices at once.

For example:

Good Night Scene

Actions:

  • Lock front door
  • Turn off downstairs lights
  • Arm security sensors
  • Lower thermostat
  • Close garage door

Events

An event occurs whenever a device changes state.

Examples:

  • Motion detected
  • Door opens
  • Window closes
  • Smoke alarm activates
  • Temperature rises
  • Water leak detected

Events trigger Luup automation.

Without events, automation would never begin.


Requests

Requests allow Luup to communicate with devices and services.

Developers use requests to:

  • Read device information
  • Execute commands
  • Retrieve variables
  • Modify settings
  • Trigger scenes

Requests are one of the foundations of advanced Vera automation.

Later documentation will explore request syntax and implementation in detail.


Plugin Architecture

One of Luup’s greatest strengths is its plugin system.

Plugins allow developers to extend Vera beyond its default capabilities.

Plugins may add support for:

  • New smart home devices
  • Online services
  • Weather providers
  • Voice assistants
  • Energy monitoring
  • Media systems
  • Custom dashboards

Rather than modifying the core software, plugins integrate additional functionality while keeping the controller flexible.


How Plugins Work

Most plugins follow a similar workflow:

  1. Install the plugin.
  2. Register services.
  3. Create required variables.
  4. Add device definitions.
  5. Execute Lua code.
  6. Display configuration options in the dashboard.

Once installed, plugins behave much like built-in devices.


Creating Automation with Luup

Simple automation often follows a predictable pattern.

Trigger

Motion sensor detects movement.

Condition

Time is after sunset.

Action

Turn hallway lights on.

Result

Homeowner walks into a well-lit hallway.

This event-driven model allows Vera to respond automatically without user interaction.


Example Automation Workflow

Imagine a smart home with:

  • Front door lock
  • Motion sensor
  • Smart thermostat
  • Hallway lighting
  • Security system

A single automation might work as follows:

Event

Front door unlocks.

Motion detected.

Security system disarms.

Hallway lights switch on.

Thermostat changes to Home mode.

Notification sent to homeowner.

One event triggers several coordinated actions, demonstrating the flexibility of Luup automation.


Development Best Practices

Developers can improve reliability by following a few simple guidelines.

Keep Code Modular

Instead of creating one large automation script, divide functionality into smaller reusable components.

Benefits include:

  • Easier debugging
  • Better readability
  • Simpler maintenance
  • Reusable logic

Use Meaningful Variable Names

Avoid vague names such as:

❌ temp1

❌ value3

Instead use:

✅ CurrentTemperature

✅ FrontDoorStatus

✅ MotionDetected

Descriptive naming improves readability and simplifies troubleshooting.


Test Frequently

After making changes:

  • Test individual functions.
  • Verify variable updates.
  • Confirm actions execute correctly.
  • Monitor logs for unexpected behavior.

Frequent testing catches problems before they affect the entire automation system.


Document Your Code

Comments help explain why code exists rather than simply what it does.

Well-documented automation is much easier to maintain months or years later.

Include:

  • Purpose
  • Author
  • Date
  • Version
  • Expected behavior

Common Beginner Mistakes

Developers new to Luup often encounter similar issues.

Ignoring Variable Updates

Automations rely on current device values.

Always verify variables update correctly before assuming the automation is broken.


Hardcoding Device IDs

Device identifiers may change after restoring backups or rebuilding a controller.

Whenever possible, avoid unnecessary hardcoding.


Creating Overly Complex Scenes

Large automation scripts become difficult to troubleshoot.

Breaking them into smaller logical sections improves reliability.


Skipping Error Handling

Unexpected conditions occur.

Good automation checks for:

  • Missing devices
  • Offline hardware
  • Invalid values
  • Communication failures

Graceful error handling prevents automation from failing unexpectedly.


Security Considerations

Developers should also think about security when building Luup automations.

Recommended practices include:

  • Restrict administrator access.
  • Keep controller firmware updated.
  • Install plugins from trusted sources.
  • Back up the controller before testing new code.
  • Remove unused plugins.
  • Review automation permissions periodically.

A secure development environment reduces the risk of configuration problems and unauthorized changes.

Frequently Asked Questions

What is Luup?

Luup is the automation engine used by Vera controllers. Built on the Lua programming language, it enables advanced automation, plugin development, and communication with compatible smart home devices.


Is Luup the same as Lua?

No.

Lua is the programming language.

Luup is Vera’s automation framework that uses Lua to execute automation logic, manage devices, and support plugins.


Do I need programming experience?

Not necessarily.

Many Vera users begin with graphical automation scenes and later explore Luup to build more advanced automations. Basic programming knowledge is helpful but not required to understand the concepts introduced in this guide.


What can Luup automate?

Luup can automate a wide range of tasks, including:

  • Lighting
  • Smart locks
  • Thermostats
  • Motion sensors
  • Door and window sensors
  • Water leak detectors
  • Security systems
  • Notifications
  • Custom integrations

Does Luup work without the internet?

Yes.

Most Luup automation executes locally on the Vera controller, allowing many scenes and device interactions to continue even if the internet connection is temporarily unavailable.


What are variables in Luup?

Variables store the current state of devices.

Examples include:

  • Current temperature
  • Motion detected
  • Door open or closed
  • Lock status
  • Battery level

Automations use these values when deciding which actions to perform.


What are services?

Services define the functions available for a device, such as turning a switch on, locking a door, or reading sensor values. Multiple devices may expose the same service, making automation more consistent across manufacturers.


What are actions?

Actions are commands sent to devices.

Examples include:

  • Turn on
  • Turn off
  • Lock
  • Unlock
  • Set temperature
  • Arm
  • Disarm

Several actions can be combined into a single automation scene.


Can I create my own plugins?

Yes.

Luup supports plugin development, allowing advanced users to add support for new devices, online services, dashboards, and custom automation logic.


Why is Luup event-driven?

Rather than continuously checking every device, Luup waits for events such as motion detection, a door opening, or a thermostat change. This approach improves efficiency and allows automations to respond quickly.


Can Luup communicate with external services?

Yes.

Developers can integrate external APIs, weather services, home automation platforms, and other systems to extend Vera’s capabilities.


Is Luup still useful in 2026?

Yes.

Although many newer platforms offer low-code automation, Luup remains valuable for maintaining existing Vera installations and creating advanced custom automations.


How should I begin learning Luup?

Start by understanding:

  • Devices
  • Variables
  • Services
  • Actions
  • Events

Once these concepts are familiar, you can begin writing simple Lua scripts and gradually build more advanced automations.


How do I troubleshoot Luup automations?

When troubleshooting:

  • Verify device status.
  • Check variable values.
  • Review automation triggers.
  • Confirm actions execute correctly.
  • Examine controller logs if available.

Testing one change at a time makes problems easier to isolate.


Can Luup work with plugins?

Yes.

Plugins are one of Luup’s most powerful features, enabling support for additional hardware, cloud services, and custom functionality beyond the default Vera interface.

Conclusion

Luup is the foundation of advanced automation on Vera controllers, providing developers with the flexibility to create custom workflows, integrate new devices, and extend the capabilities of their smart home systems. By combining the lightweight Lua programming language with an event-driven automation engine, Luup enables reliable local processing and sophisticated automation that goes beyond standard graphical interfaces.

Whether you’re maintaining an existing Vera installation or exploring smart home development for the first time, understanding devices, services, variables, actions, and plugins provides the knowledge needed to build more capable and dependable automations. As you continue through the documentation, you’ll gain the practical skills required to create scripts, develop plugins, and troubleshoot complex automation scenarios.

Similar Posts